

How to Vacuum Seal Cornmeal in Mason Jars for Long-Term Pantry Storage

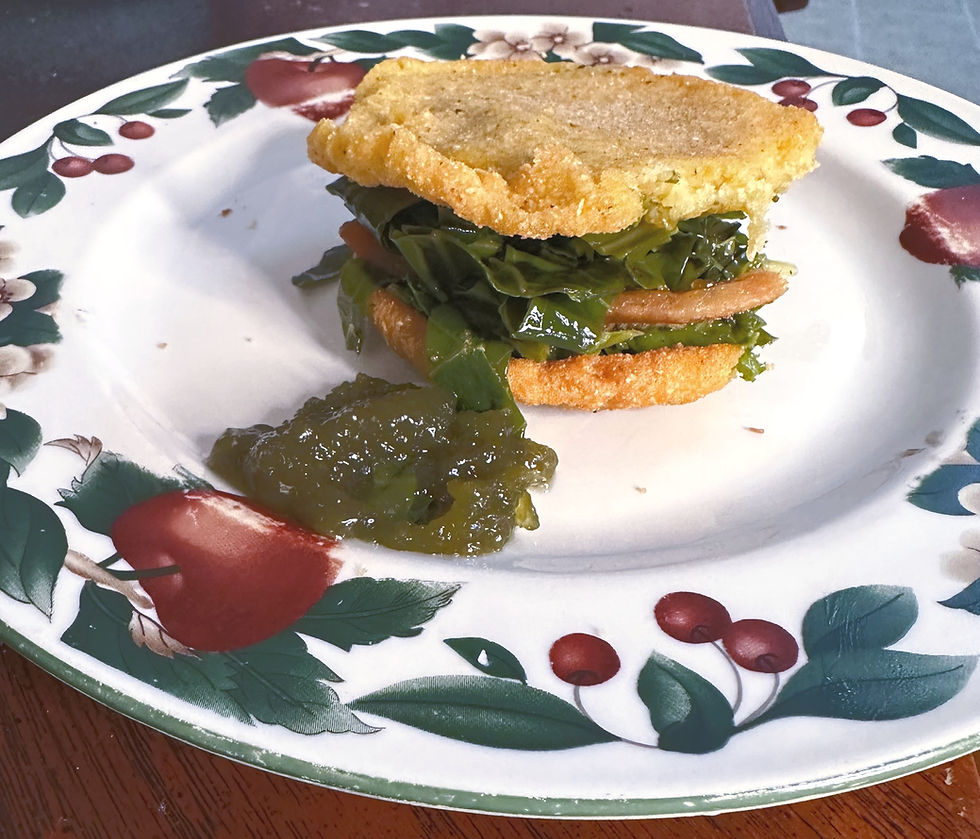
When it comes to building a resilient homestead pantry, staple grains like cornmeal are essential. Whether you’re baking up a fresh skillet of lacy cornbread, dusting a baking sheet, or thick-thickening a pot of chili, having fresh cornmeal on hand is a must.
***This post contains affiliate links. If you make a purchase through these links, I may earn a small commission at no additional cost to you. I only recommend products I use, trust, and love. Thank you for supporting the blog!***
However, store-bought cornmeal left in its original paper bag doesn’t last long. Ambient humidity can make it clumpy, pantry pests can infest it, and the natural oils in the grain can turn rancid over time.
Fortunately, vacuum sealing dry cornmeal in glass Mason jars is one of the cleanest, most efficient ways to protect your supply, keep pests out, and extend its shelf life for years—all without applying unsafe oven heat.
Here is your step-by-step guide to vacuum sealing cornmeal in Mason jars the right way.

Why Vacuum Seal Cornmeal in Glass Jars?
Unlike "oven dry canning" (which heats dry grains in an oven and can trap dangerous moisture inside the jar), cold vacuum sealing uses ambient air extraction to preserve food safely.
Here’s why it works so well:
Blocks Oxygen & Moisture: Removing air slows oxidation and prevents ambient humidity from turning your meal stale or clumpy.
Pest Prevention: Grain weevils and pantry moths cannot chew through glass or survive in a low-oxygen environment.
Reusable & Non-Toxic: Glass Mason jars don't leach chemicals into your food, and the jars can be reused indefinitely.
Easy Pantry Visibility: You can easily see how much inventory you have left on your shelves at a glance.
Step 1: Pre-Freeze Your Cornmeal (Crucial Step!)
Microscopic insect eggs can exist naturally in commercially processed or home-ground grains. Before sealing your cornmeal for long-term storage, kill off any potential pests using cold temperature:
Place your store-bought or home-milled cornmeal (in its original packaging or a sealed bag) into the freezer at 0°F (-18°C) or lower for 48 to 72 hours.
Important: Remove the cornmeal from the freezer and let it sit unopened on the kitchen counter until it comes completely to room temperature (about 12–24 hours).
Do not open or transfer the cornmeal while it is still cold! Opening cold grain in warm room air causes condensation to form on the grains, introducing unwanted moisture into your jar.
Step 2: Gather Your Supplies
To vacuum seal Mason jars, you’ll need a few basic tools:
Clean, Bone-Dry Mason Jars: Quart or half-gallon size work best. Make sure the glass rims are completely smooth with no nicks or chips.
Flat Mason Jar Lids: Brand new or clean, un-dented flat lids. (Tip: You don't need brand new lids for vacuum sealing dry goods like you do for heat-canning, as long as the rubber gasket is intact!)
A standard vacuum sealer machine with an accessory hose attachment and a Mason jar jar-sealer attachment (wide-mouth or regular-mouth).
OR a handheld battery-operated electric Mason jar vacuum pump.
Coffee Filter or Paper Towel Circle (Pro-Tip!): Required to protect your vacuum motor from fine cornmeal dust!
Step 3: Pack and Prep Your Jars
Fill the Jar: Carefully funnel your dry, room-temperature cornmeal into the Mason jar, leaving about 1 inch of headspace at the top.
Prevent Dust Clogs (The Coffee Filter Trick): Fine cornmeal dust can get sucked into your vacuum sealer hose, preventing a tight seal or damaging your machine's motor. Cut a small circle from a coffee filter or paper towel and lay it directly over the top of the cornmeal before putting the lid on.
Wipe the Rim: Take a clean, dry paper towel and wipe the top rim of the glass jar to clear away any fine cornmeal dust. A dusty rim will prevent the rubber gasket from gripping the glass.
Step 4: Vacuum Seal the Jar
Place the flat metal lid flat onto the clean jar rim (do not put the screw band on yet).
Place your jar sealer attachment snugly over the top of the lid and jar neck.
Attach the hose to your vacuum sealer machine (or place your handheld electric sealer over the attachment).
Run the vacuum cycle for 45 to 60 seconds to ensure all ambient air is extracted.
Gently remove the attachment. You should hear a sharp click, and pressing down on the center of the metal lid should reveal no flex or give.
Screw a metal band on loosely to protect the lid seal, label your jar with the contents and date, and store it in a cool, dark pantry.
Expected Shelf Life of Vacuum-Sealed Cornmeal
Type of Cornmeal | Typical Pantry Shelf Life | Vacuum-Sealed in Mason Jars |
White or Yellow Cornmeal (Commercial) | 6–12 Months | 3–5+ Years |
Whole-Grain / Stone-Ground Cornmeal (Contains natural oil) | 3–6 Months | 1–2 Years (Best kept in a cool pantry or freezer due to oil content) |
Quick Storage Rules to Remember
Keep It Cool: Heat degrades nutrients and natural oils. Store your sealed jars between 50°F and 70°F for maximum longevity.
Keep It Dark: Direct sunlight can break down nutrients in grains over time. Store jars inside a closed cabinet, pantry, or dark closet.
Check Your Seals: Once a season, quickly run your thumb over your jar lids to make sure the vacuum seal is holding strong.
Vacuum sealing is one of the simplest, cleanest ways to protect your dry staples, cut down on food waste, and keep your homestead kitchen stocked and ready!
How do you like to store your dry pantry staples? Let me know in the comments below!


Comments